We Provide One-stop Power Supply Solution


We Provide One-stop Power Supply Solution
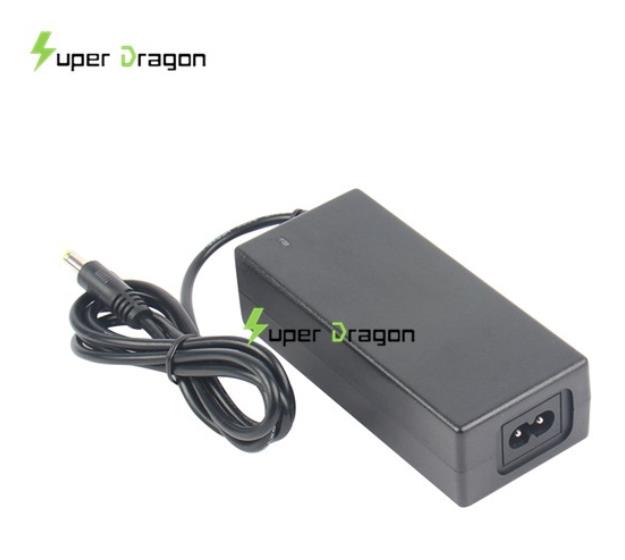
Today, we want to introduce the development and production process of some power adapters, like oem power adapter and ac power adapter.

Development process of Power Adapters:
First of all, according to the needs of use, carry out the appearance design, after the confirmation, open the mold and produce the shell.
Secondly, according to the performance requirements, the electronic engineer develops the electronic circuit part, selects the appropriate scheme, designs the electronic schematic diagram, draws the circuit board (PCB) drawings, and submits them to the PCB manufacturer to make the PCB samples.
Then, the electronic engineer makes the manual sample, and then carries on the performance test, the assembly test, the aging test and so on each kind of test to the sample.
After the sample test, we should develop PCB production mold. Conduct small batch trial production, and test whether there are some problems in the production process. Then make the corresponding adjustment.
Finally, the circuit board (PCB) is finalized. If the PCB changes, the mold needs to be reopened, then create files of specifications, operation instructions, inspection instructions, etc.
Mass production process of AC Power Adapters:
1. SMT: After the materials are prepared and inspected as qualified, the PCB is first pasted through SMT machine
2. Plug in (DIP): The PCB with the chip pasted, pull on the plug-in and carry out the plug-in process. DIP will be subdivided into: Plug-in, pressing, tin dipping, cutting electronic feet and other processes.
3. Post welding (Repair welding): After the plug-in is pulled, and the circuit board is soaked with tin, some electronic components have not been properly tinned, at this time, post welding is needed to solve the problem. The post welding and drawing process is divided into:
Wave soldering: The plug-in is soldered and pulled again by the machine, and there is no electronic material with good tin during tin dipping.
Panel repair welding: Generally, a PCB is divided into areas, and many people carry out manual panel. If there is no good tin, it should be repaired manually. If there are few electronic components or devices that are not inserted, they should also be marked.
Replacement of electronic material: The correction process of reverse electronic material insertion and less parts.
QC test 1: Make matching test tools. Test the bare plate. Once the test is accomplished, it will be given to the next process. If the test fails, it will be repaired by the repairman.
4. Assembly: This process is the most complex and also the most test of production process level.
a. Welding wire: Weld the DC wire to the bare plate. Weld the AC wire (ac power adapter) to the lower shell metal part of the shell.
b. Gluing: Gluing the components that are easy to fall off or break during transportation. Through the welding points of transformer, filter, AC line and DC line, etc.
c. Shell installation: close the shell of switch power adapter.
d. QC test 2: Test whether each output performance is up to standard through computer integrated tester. If it doesn't work, hand it over to the repairman for repair. Test again until you pass the test.
e. Repair: repair the switch power adapter that failed the test.
f. Screw: fix the shell. Some cases use ultrasound. Put it behind the process of
i.QC test 3.
h. Aging test: Transfer the screwed products to the Aging Workshop for aging test. After aging test for a certain time. Then transfer it back to the assembly and pull it for the final full inspection QC test.
i. QC test 3: The last full inspection, the aging test of the product, a full inspection, if not, return to step E and repair. Then passing the process step by step.